Generic IaaS
Table of Contents
Requirements
- You have an IaaS account or local IaaS infrastructure (Citrix, RedHat, VMware, OpenStack, Eucalyptus, etc) where you can run a Virtual Machine instance via an image template provided by Cohesive Networks.
- You have the ability to deploy image templates to the IaaS infrastructure and create instances of them.
- Your IPsec device is supported by VNS3
- Instance Requirements include:
10gig+ ephemeral or block storage-backed image capacity per image template needed
2gig memory and 2 virtual cores are practical production minimum
When using L4-L7 plugins, more cores and memory may be needed
AES-NI available via hardware - to hypervisor - to VM guests is ideal
“Jumbo” ethernet frames in the underlying network (9000 MTU) vs. standard 1500 MTU is ideal
Ability to configure a client (whether desktop based or cloud based) to use OpenVPN client software.
VNS3 Products and Addons
VNS3:ms - When running multiple (more than a handful) virtual VNS3 Controllers it is recommended that VNS3:ms (management system is used). It makes managing virtual networks at scale much easier.
VNS3 Routing Agent - When running more than the simplest topologies, especially ones where different network paths (routes) may come and go, it is recommended that you use the VNS3 routing agent on each of the virtual hosts connecting to VNS3 as their network overlay controller. VNS3 overlay uses TLS tunneling technology, for which there is not a standard routing protocol. The VNS3 routing agent allows hosts on an overlay to receive dynamic route updates, eliminating a need for tunneling agent restarts.
Infrastructure Setup
Sizing Considerations
Image Size and Architecture - VNS3 Controller Images are available as 64bit images to allow the greatest flexibility for your use-case. We recommend Controller instances be launched with at least 512MB of RAM. Smaller sizes are supported but the performance will depend on the use-case.
Clientpack Key Size - VNS3 Controllers currently generate 1024 bit keys for connecting the clients to the overlay network via the “clientpacks”. Smaller or larger encryption keys can be provided upon request (from 64 bit to 2048 bit). Future releases of VNS3 will provide the user control over key size and cipher during initialization and configuration.
Network Considerations
Docker for Layer 4-7 Network Function Services
Starting with VNS3 version 3.5, VNS3 provides the ability for users to import and launch Docker and/or LXC application containers inside VNS3 Controllers . This allows customization of the VNS3 NFV appliance and adds options for how an application can be deployed to the clouds.
In order to provide this functionality, the Docker system needs a subnet to run and communicate to/from the running application containers. Users can edit this subnet but the default is 198.51.100.0/28. If you plan on using the default make sure there is no network overlap with the environments you plan to connect using VNS3.
Address Considerations
- Restrictions - Your VLAN CIDR and Subnets cannot not overlap with the VNS3 Overlay Network Subnet.
- VLANs - Virtual machine deployments are launched in VLAN CIDRs.
- VNS3 - VNS3 provides an encrypted subnet in addition to the VLAN subnets. Servers that are configured to join the VNS3 encrypted Overlay Network do so via OpenVPN connections using the VNS3 generated Client Packs. Each Client Pack is tied to a specific Overlay Network Address
| VLAN Subnets (eth0) | VNS3 Overlay Network Subnet (tun0) |
|---|---|
| Not Encrypted | Encrypted |
| OpenVPN is not required on Client Servers | OpenVPN is required on Client Servers |
| Clients Packs are not required on Client Servers | Client Packs are required on Client Servers |
| Cannot join generic EC2 directly (public Internet connection required) | Can join generic EC2 services directly (OpenVPN or Peer Controller Required) |
| No Additional Overhead | Additional Overhead (minimal) |
IaaS Deployment Setup
Get Access to the current release
Cohesive Networks will make an OVF / OVA file applicable for your virtual infrastructure available to you. This should be used to create your standard VNS3 image template in your virtual infrastructure library.
Before providing you with the image, Cohesive will need to know if your VNS3 Controllers will have a public Internet edge; regardless of whether directly of via NAT-ing and port/ protocol forwarding. If the VNS3 Controllers will be connectable via the Internet there is a slight, but significant distinction in their boot up sequence.
If your controllers will be wholly “on-prem” wrapping a local application and not providing public edge services you will need a different image. We call this the “running local private” configuration.
Initial Network Configuration
Ensure the proper firewall rules exist for VNS3 IPsec, peering and API/UI traffic.
Many private virtual infrastructures do not have the dynamic association of static IP addresses (like Amazon does).
They also do not have a way to assign an IP address to a virtual adapter (vSphere for example).
As a result the Virtual Infrastructure edition ships with a VERY simple configuration script for setting the initial ETH0 address via the virtual infrastructure console.
When using VNS3 “on prem” assume the ETH0 is the “outer address” of the VNS3 Controller and “ETH1” is the “inner address” of the controller.
Running the “set_net.sh” script
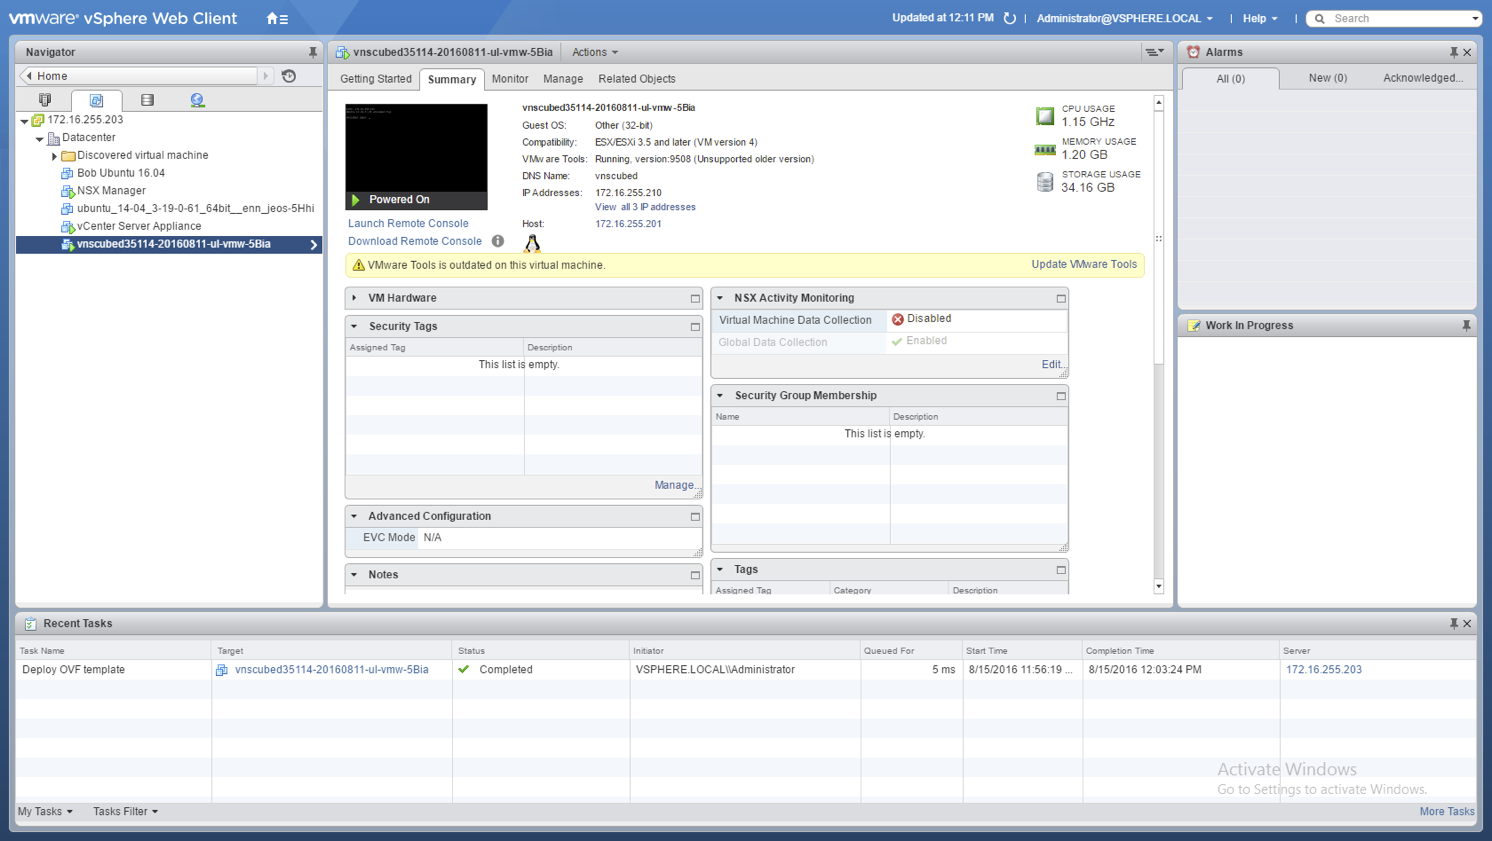
Once you create a VNS3 instance, you then need to access it via the virtual infrastructure console.
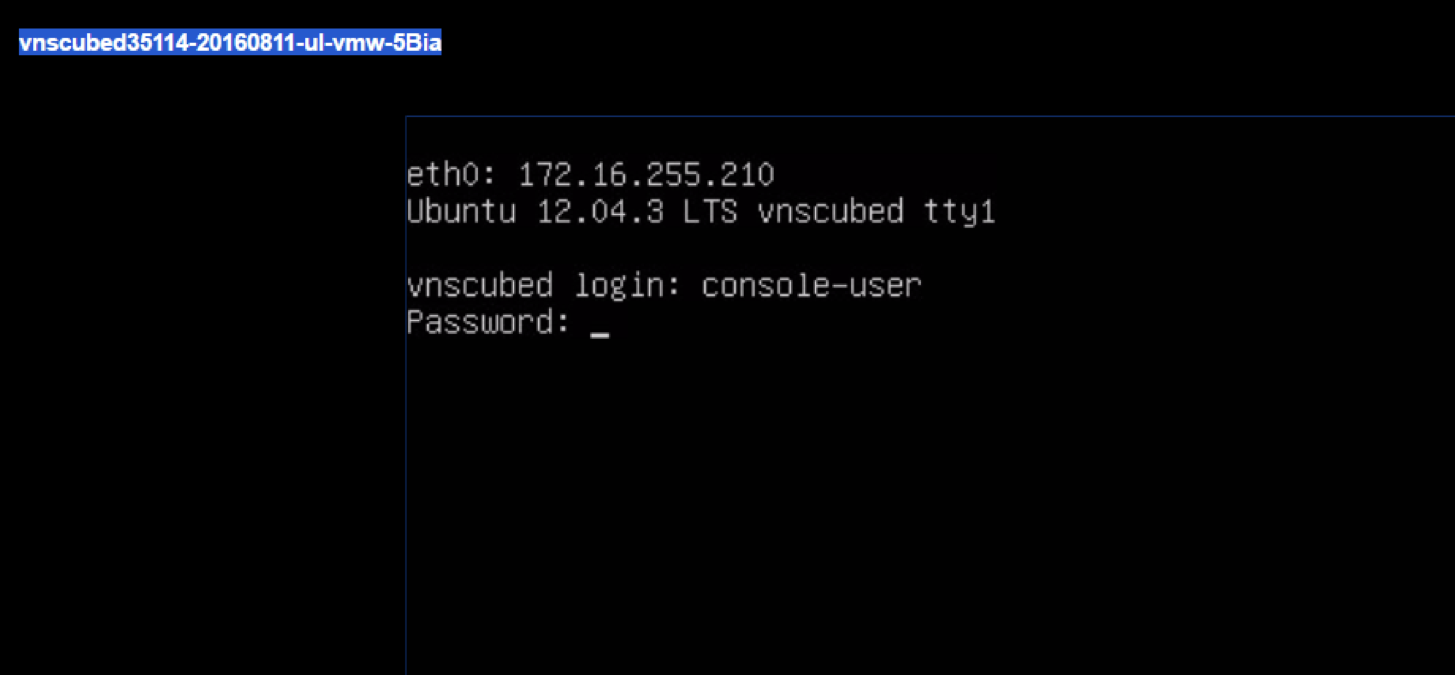
From the console you log in as a simple user which is locked to a single script; the set-net.sh script.
The username is “console-user”
The password is “console-user”
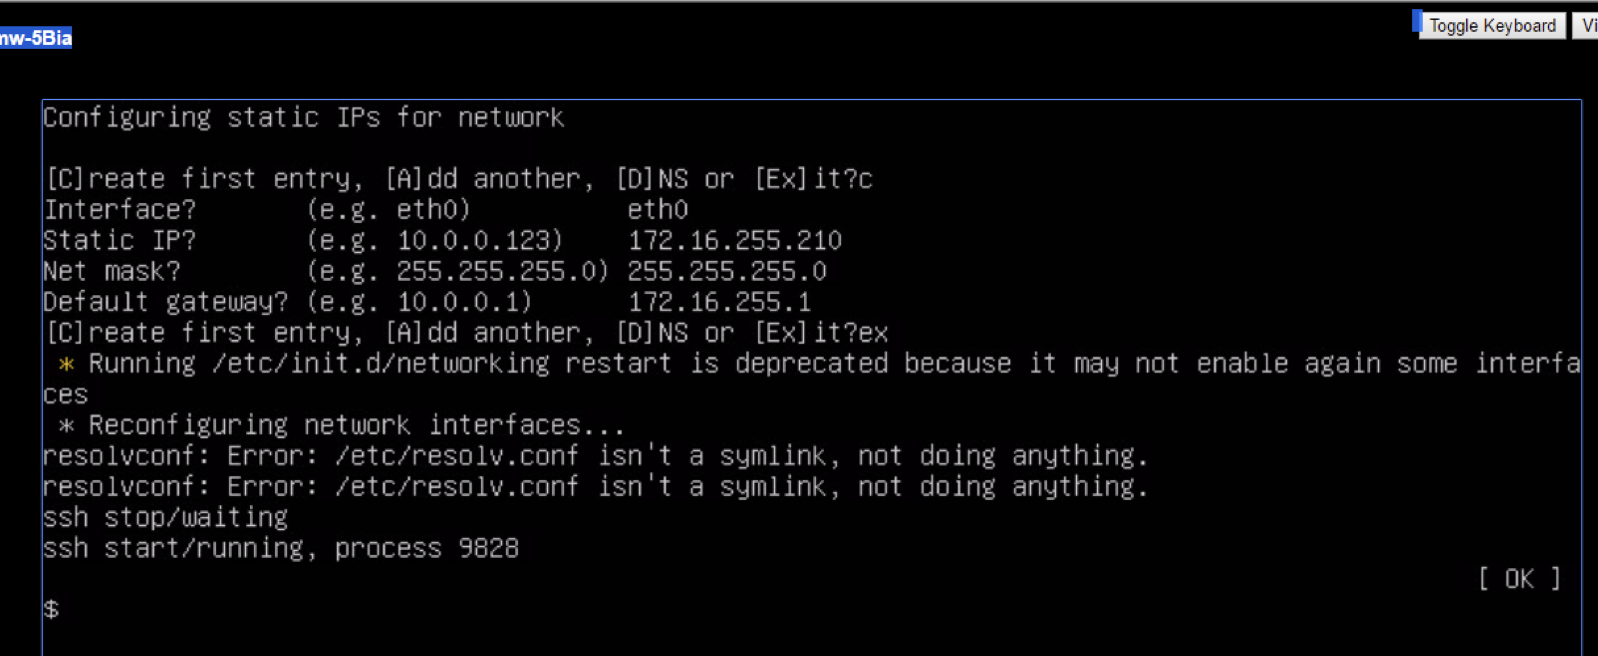
Run “sudo ./set_net.sh”.
It will prompt you to “Add” or “Create”. Use the create option and enter the address you will use to do initial administration of the instance via its Web UI or API via ETH0. Enter the address, CIDR, and gateway.
Then Add DNS entry - you can only add one DNS entry. If your controller will have a public edge, this DNS needs to be able to resolve public names.
DO NOT ATTEMPT TO SET ETH1 with this script. That is done via WEB UI/API.
VMware Console to access “set_net.sh”

Login via console as “console-user”

Run “sudo ./set_net.sh”

Use the “C” option to enter static IP info
Use the “C” option and enter network information for the outer network adapter (usually eth0) . Do not enter information for any other adapters or you may break your VNS3 installation.

Use the “E” option to save static IP info
Use the “Ex” option to save the information. The network interface will be restarted with the network information provided. IGNORE the resolveconf warning message.

Create port access for your instance
VNS3 uses the ports listed in the previous section discussing ports.
Use the IaaS firewall and/or hypervisor firewall utilities to ensure that access to those ports are set.
You should then be able to reach the Web UI for configuration via: https://vns3-eth-ip-address:8000
Updated on 14 Aug 2019
